Running Debian Linux on MK808 Android Mini TV

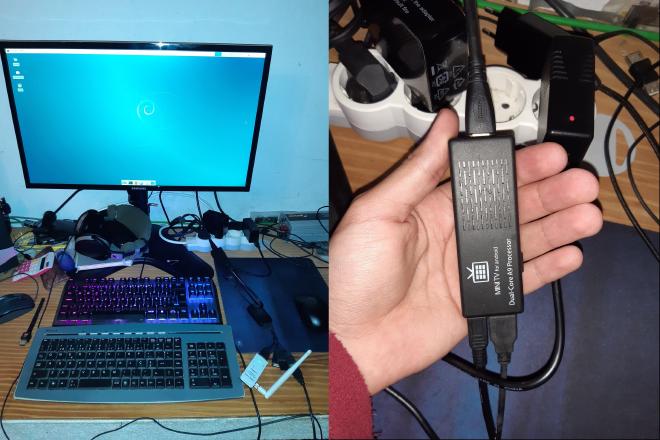
Many years ago, I acquired this device, the MK808 Android Mini TV. This device natively runs Android and its made for streaming content on a TV via Mini HDMI port. This device has 8GB NAND Flash, a CPU Dual Core Cortex-A9 Up to 1.6GHz (Rochip RK 3066), and 1GB of RAM.
In the last years, I’ve started using Linux. I’m no professional, but I love it. Some days ago, I decided to see if this old device I had laying around could run Linux. It runs Android, that’s a good sign.
After searching and reading a lot of 2010–2013 forum posts, I was able to figure out how to do it. I’ll list the main sources of information I used:
- Writing Image and booting Linux from MK808/RK3066
- (unavailable) My version of the Linux kernel for mk808 - MK808
I’m not claiming that this is the best way of doing this process, because it probably isn’t. The objective of this is to share my journey and maybe help someone who wants to do this.
. . .
The first step was flashing a new kernel to the device. The kernel I used was compiled by Oleg, who did serious work on this subject. You can find his GitHub here.
You can download the already compiled kernel on his Google Drive.
I made a backup of the files on my personal Drive
Download the recovery.img and mod+fw.tar.gz files from the folder 30.36 (kernel version). I used this kernel because it supports 1080p and was the one that I was able to get the wifi dongle driver working.
Now onto flashing the kernel to the device. I did this in Linux, so I’ll explain the procedure on this platform. We need to boot into recovery mode. To do so, press the reset hole, connect the mini USB cable to the OTG port, hold for around 5 seconds and it should be all good.
Run the command on the terminal:
lsusb
And the device should appear:

Register the device ID, on my case: 2207:300a.
Now, the software used to flash the kernel was downloaded from justgr/arnova-tools.
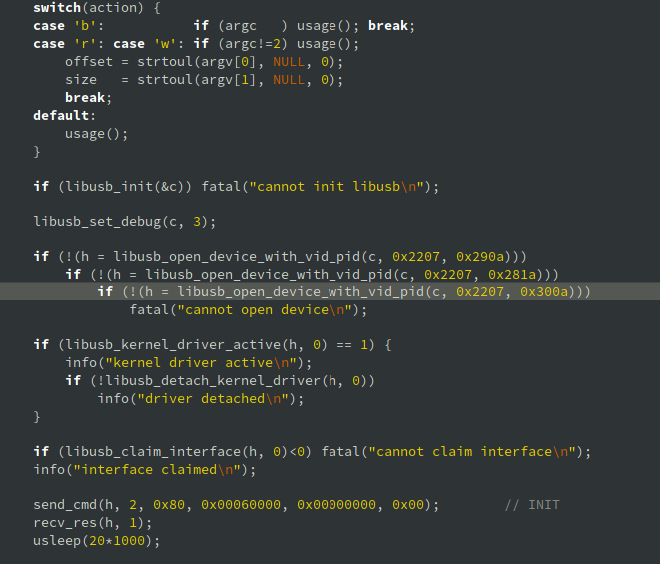
Before compiling, you need to add a line to the code of rkflashtool.c with your device ID:

You can now compile it using the command:
gcc -o rkflashtool rkflashtool.c -lusb-1.0 -O2 -W -Wall -s
Now, let’s flash the kernel!
First, backup the 8GB NAND flash by dumping its contents into a file. Run the command:
sudo rkflashtool r 0x00000000 0x01000000 > myflashbackup.bin
You can also backup the current kernel:
sudo rkflashtool r 0x00004000 0x00004000 > mk808kernel.img
To flash the downloaded kernel, 3.0.36 from Oleg:
sudo rkflashtool w 0x00004000 0x00004000 < recovery.img
When this finishes, you should have the kernel on your device. Connect everything back and turn on the device!
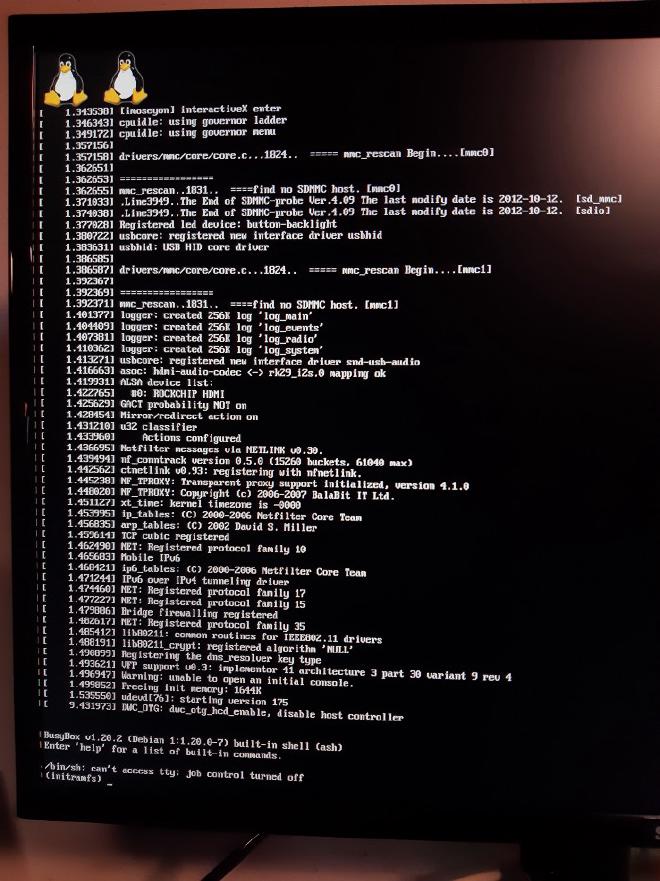
If you see these two penguins, everything went well:

. . .
The next step is preparing the SD card for installing Linux on it.
On the guides I found, they say to format the SD card with ext4. I wasn’t able to get this format working, because I got the error:
/dev/… has unsupported feature(s): metadata_csum
e2fsck: Get a newer version of e2fsck!
After googling it, I was able to figure out that the problem was caused by the version of e2fsck not being able to process the ext4 SD card. Therefore, I format it with ext2, which will also help with the number of events of read/write of the SD card.
To format the SD card, run the command:
sudo mkfs.ext2 /dev/sdg1 -L linuxroot
Replace the sdg1 by the name of the SD card on your computer. Notice that I labeled the partition with linuxroot, which is a requirement for the kernel.
After formatting the SD card, it’s time to create a rootfs on the SD card. I’ll use Debian because it is compatible and makes this process very easy. Mount the SD card, by doing:
sudo mount /dev/sdg1 /mnt/tmp
And then run the command:
sudo debootstrap --foreign --verbose --arch=armhf jessie /mnt/tmp
When it finishes, you have to copy the modules and firmware to the rootfs. Make sure you extract the folder using sudo:
sudo tar -zxvf mod+fw.tar.gz
Then, copy the folders firmware and modules to /mnt/tmp/lib.
You will also need to edit the /etc/fstab file so the system mounts the rootfs. Your /etc/fstab file should look like this:
# <file system>                                 <dir>   <type>  <options>       <dump>  <pass>
UUID=8c2995cd-60e8-4537-867e-f15083bf7442       /       ext2    defaults        1       1
Replace the UUID with your SD card UUID. You can find it by running the command on your computer (outside the rootfs):
ls /dev/disk/by-uuid -l
Now, it’s time to setup the freshly installed OS. First chroot into the directory:
sudo chroot /mnt/tmp
Now that you are inside the generated rootfs, change the root password:
passwd
Then, setup your account - select your username and your password which will be prompted:
adduser [username]
Now add your account to sudoers:
addgroup [username] sudo
You now have your own account!
You won’t have internet on your device when you boot it, so, we should now setup everything necessary.
Add the non-free and contrib repositories to the /etc/apt/sources.list file:
deb http://deb.debian.org/debian jessie main contrib non-free
deb-src http://deb.debian.org/debian jessie main contrib non-free
Then, update the repositories and upgrade the packages:
apt update && apt upgrade
I advise you to install the following packages:
apt install firmware-misc-nonfree firmware-atheros firmware-ralink
This will install some firmware and, if you’re lucky, your wifi dongle will work when plugged.
Mine didn’t. I have a WN722N and I had to install the drivers from the official website (I’m not sure if this was what did it, I spent a lot of hours trying to make it work):
You should now have the device working with Debian 8 Jessie and with a connection to the internet.
Once you boot into the device, run the command:
sudo depmod
This will create a list of module dependencies by reading each module and clear the errors on the booting screen.
. . .
If you prefer to have a Desktop Environment, you can easily do it by installing XFCE4 and a display manager Lightdm:
apt install xfce4 lightdm
Now, when you turn on your device, you’ll be greeted with the Lightdm screen and you can login into your device.
I also advise you to install a network manager:
apt install network-manager-gnome
You’ll notice that the clock time isn’t correct, you need to install NTP:
apt install ntp
You may also need to configure your timezone and locale:
dpkg-reconfigure tzdata
apt install locales
dpkg-reconfigure locales
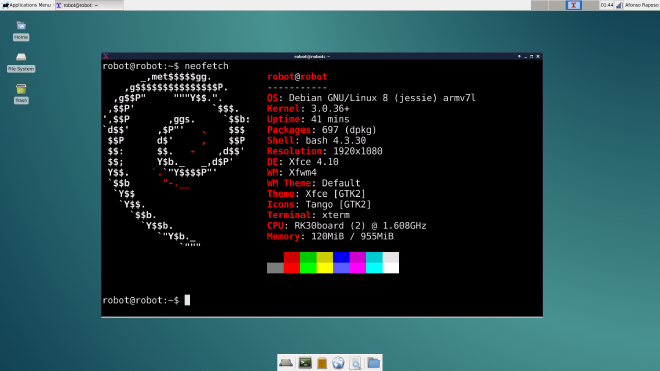
And that’s it. I think I explained everything. When you’re done, you’ll have a tiny device running Debian 8 with XFCE and internet support.
